Example: CRM & calendar
A friendly walk-through — connect your customer list and calendar so your assistant can recognise callers and book appointments.
Let's make this real. In this example you'll connect two everyday tools — your customer list (often called a CRM) and your calendar — so your assistant can recognise who's calling and book them an appointment, all on its own. It takes about five minutes and you don't need any technical know-how.
What you'll end up with
By the end, a caller's experience looks like this:
- Someone calls your business.
- Your assistant finds them in your customer list and greets them by name.
- The caller asks for an appointment.
- Your assistant checks your calendar for free times and offers a couple.
- The caller picks one, and the assistant books it — and can save a quick note too.
No call-backs, no double-booking, no sticky notes.
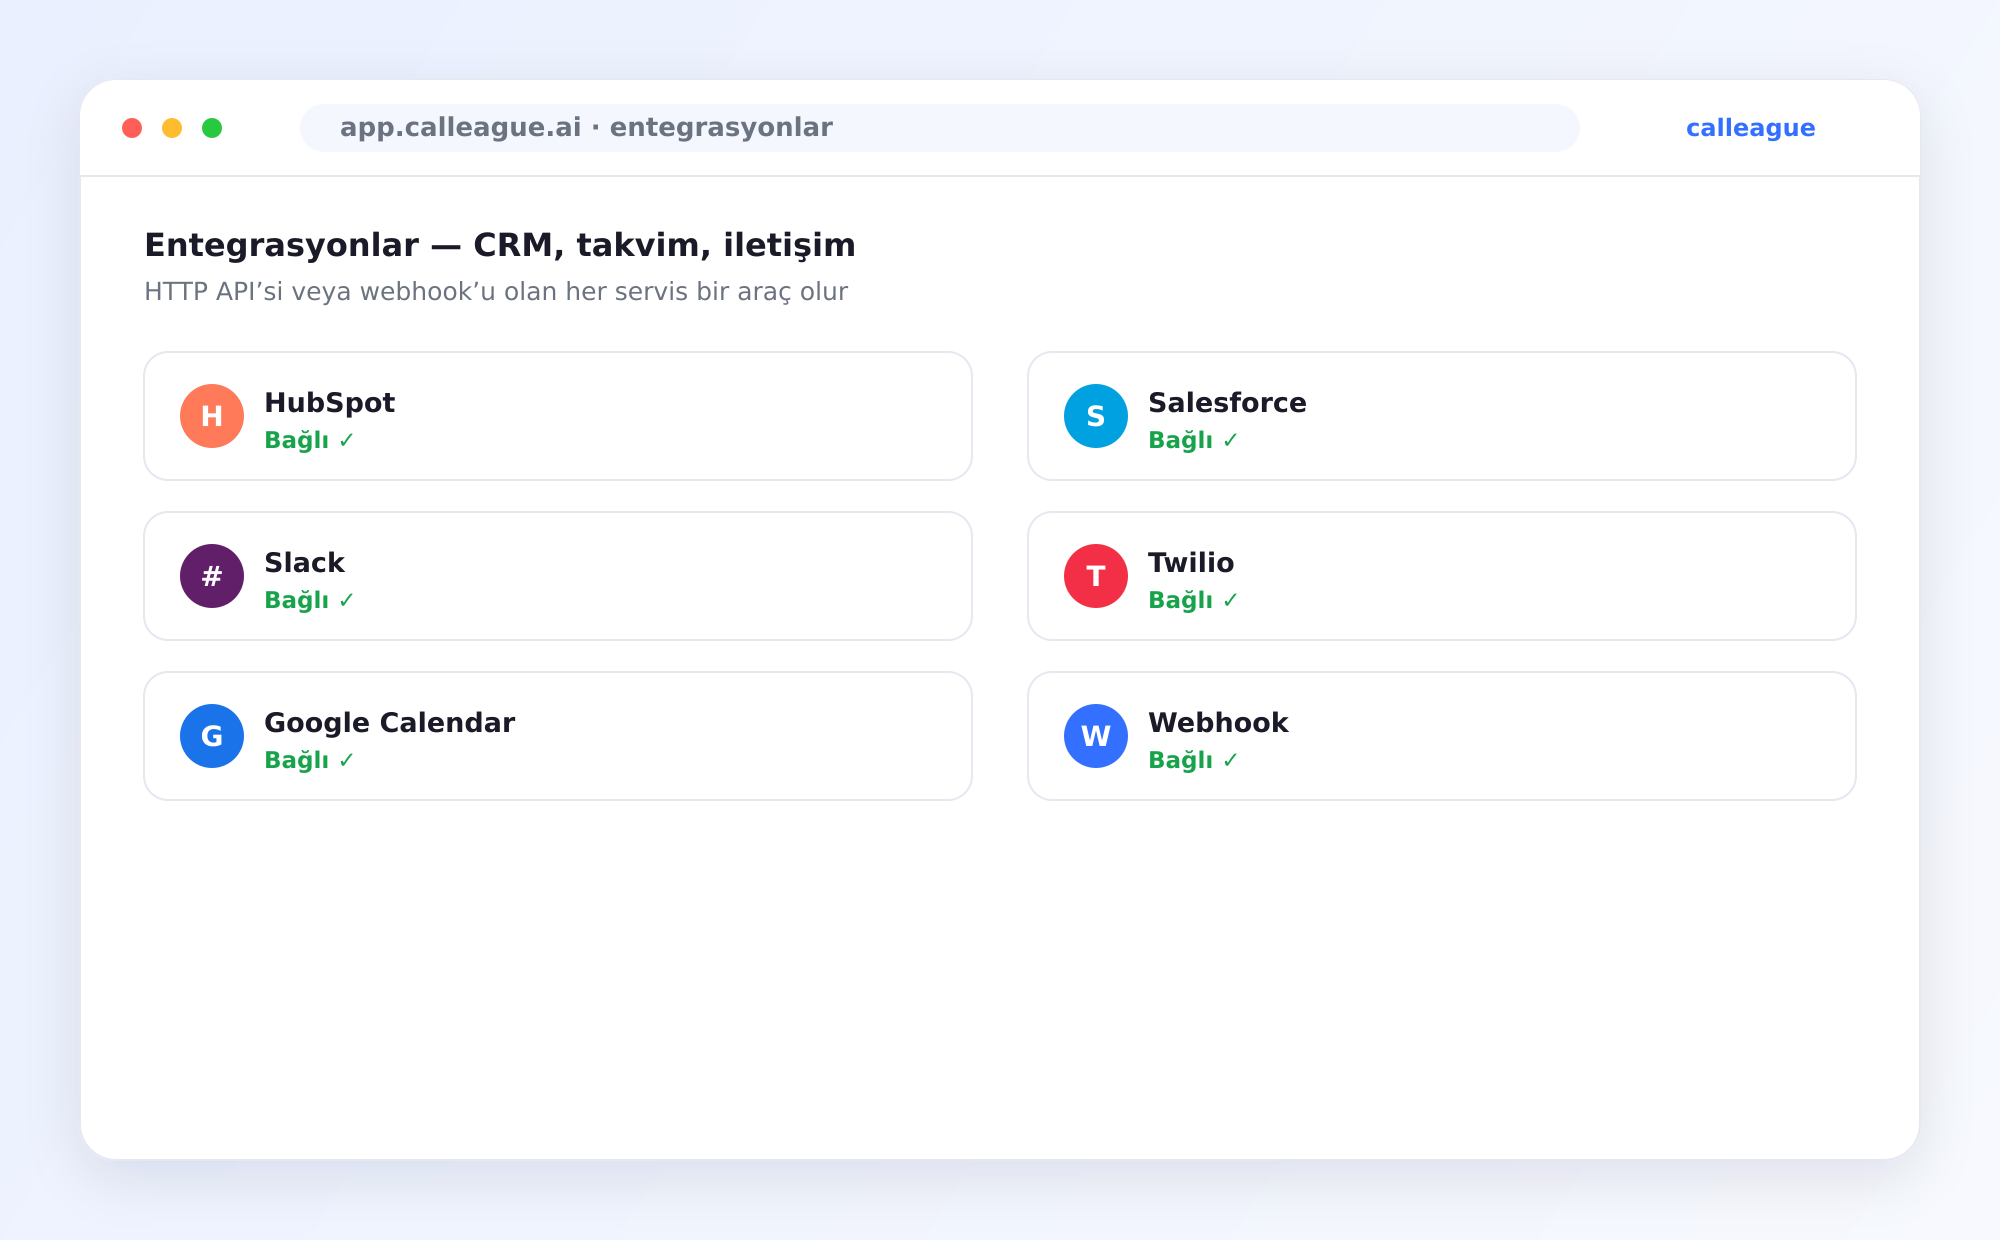
Step 1 — Connect your customer list
- Open your assistant in the app at app.calleague.ai.
- Go to Connect your tools.
- Find your customer list in the list of apps and click Connect.
- Sign in to that app on its own secure page when asked.
- Choose what the assistant may do. For this example, allow it to:
- Find a customer by their phone number or name
- Save a note to a customer's record
- Click Save.
Notice we did not allow "delete a customer." Only switch on the things your assistant actually needs. You can adjust this anytime.
Step 2 — Connect your calendar
- Still in Connect your tools, find your calendar and click Connect.
- Sign in to your calendar on its own secure page.
- Choose what the assistant may do:
- See free times so it knows when you're available
- Create an appointment when a caller picks a slot
- Click Save.
That's both tools connected. Your assistant now has everything it needs to recognise callers and fill your calendar.
Step 3 — Try a test call
Give your assistant a quick try before real customers arrive:
- Call your assistant yourself (or ask a colleague to).
- Ask for an appointment, just like a customer would.
- Listen as the assistant offers free times and books one.
- Afterwards, check your calendar — the appointment should be sitting right there.
Seeing that first appointment appear on its own is the moment most people fall in love with this. If it works, you're ready to go live.
A real-world picture
Imagine a small hair salon. A regular customer calls. The assistant sees their number, says "Hi Ayşe, lovely to hear from you," checks the calendar, offers Thursday at 2 or Friday at 11, books the one Ayşe wants, and leaves a note: "Wants the same stylist as last time." The salon owner never touched the phone — and nothing slipped through the cracks.
If something doesn't work
- The caller wasn't recognised? Make sure their phone number is saved in your customer list the same way they're calling from.
- No appointment was created? Re-check Step 2 and confirm "create an appointment" is switched on.
- Still stuck? We're glad to help — email info@arpanet.com.tr and we'll walk through it with you.
Your assistant only ever uses the access you switched on. If you'd rather pause a tool, just open Connect your tools and click Disconnect — it stops immediately.
Last Updated