Create your first assistant
Build your AI assistant with the 4-step wizard — name it, train it, test it, and put it on your website. A screenshot for every step.
This is the big one. Creating your assistant is a friendly 4-step wizard that walks you from a blank screen to a working assistant in a few minutes. Each step has a clear title at the top — Starting point, Train, Preview, Website — so you always know where you are.
We'll do all four steps together below. Follow along in your own screen; the orange ① ② ③ markers in each picture point to the exact thing to click.
You can't get this wrong. Every choice can be changed later, and nothing goes live until you decide to publish it.
What you'll do
- Starting point — name your assistant and pick a template.
- Train — teach it from your website or a document.
- Preview — chat with it to test it.
- Website — get the code to put it on your site.
The 4-step wizard
Open the wizard from Home
On your Home dashboard, find the ③ "Create an assistant" card and click its New assistant button. The wizard opens on step 1, titled Starting point.

You'll see a row of step labels at the top (Starting point · Train · Preview · Website), with Starting point highlighted.
Name your assistant and pick a template
In the ① "Assistant name" field, type a simple name like Support Assistant. Optionally choose a Business type above the cards. Then, under ② "Choose a starting point", click a template card — for example Support assistant (marked Recommended), Appointment booking, or Sales / leads. The card you pick turns blue.
When you're happy, click the ③ "Create & preview" button.
You'll see the wizard move to step 2, Train.
The template is just a head start — it pre-fills your assistant with a sensible personality for that job. A clinic would pick Appointment booking; a shop's help line would pick Support assistant. You can fine-tune everything afterwards.
Train it on your own information
Now teach the assistant about your business so it answers from your facts. On the Train step you have two tabs: Website URL and Upload file.
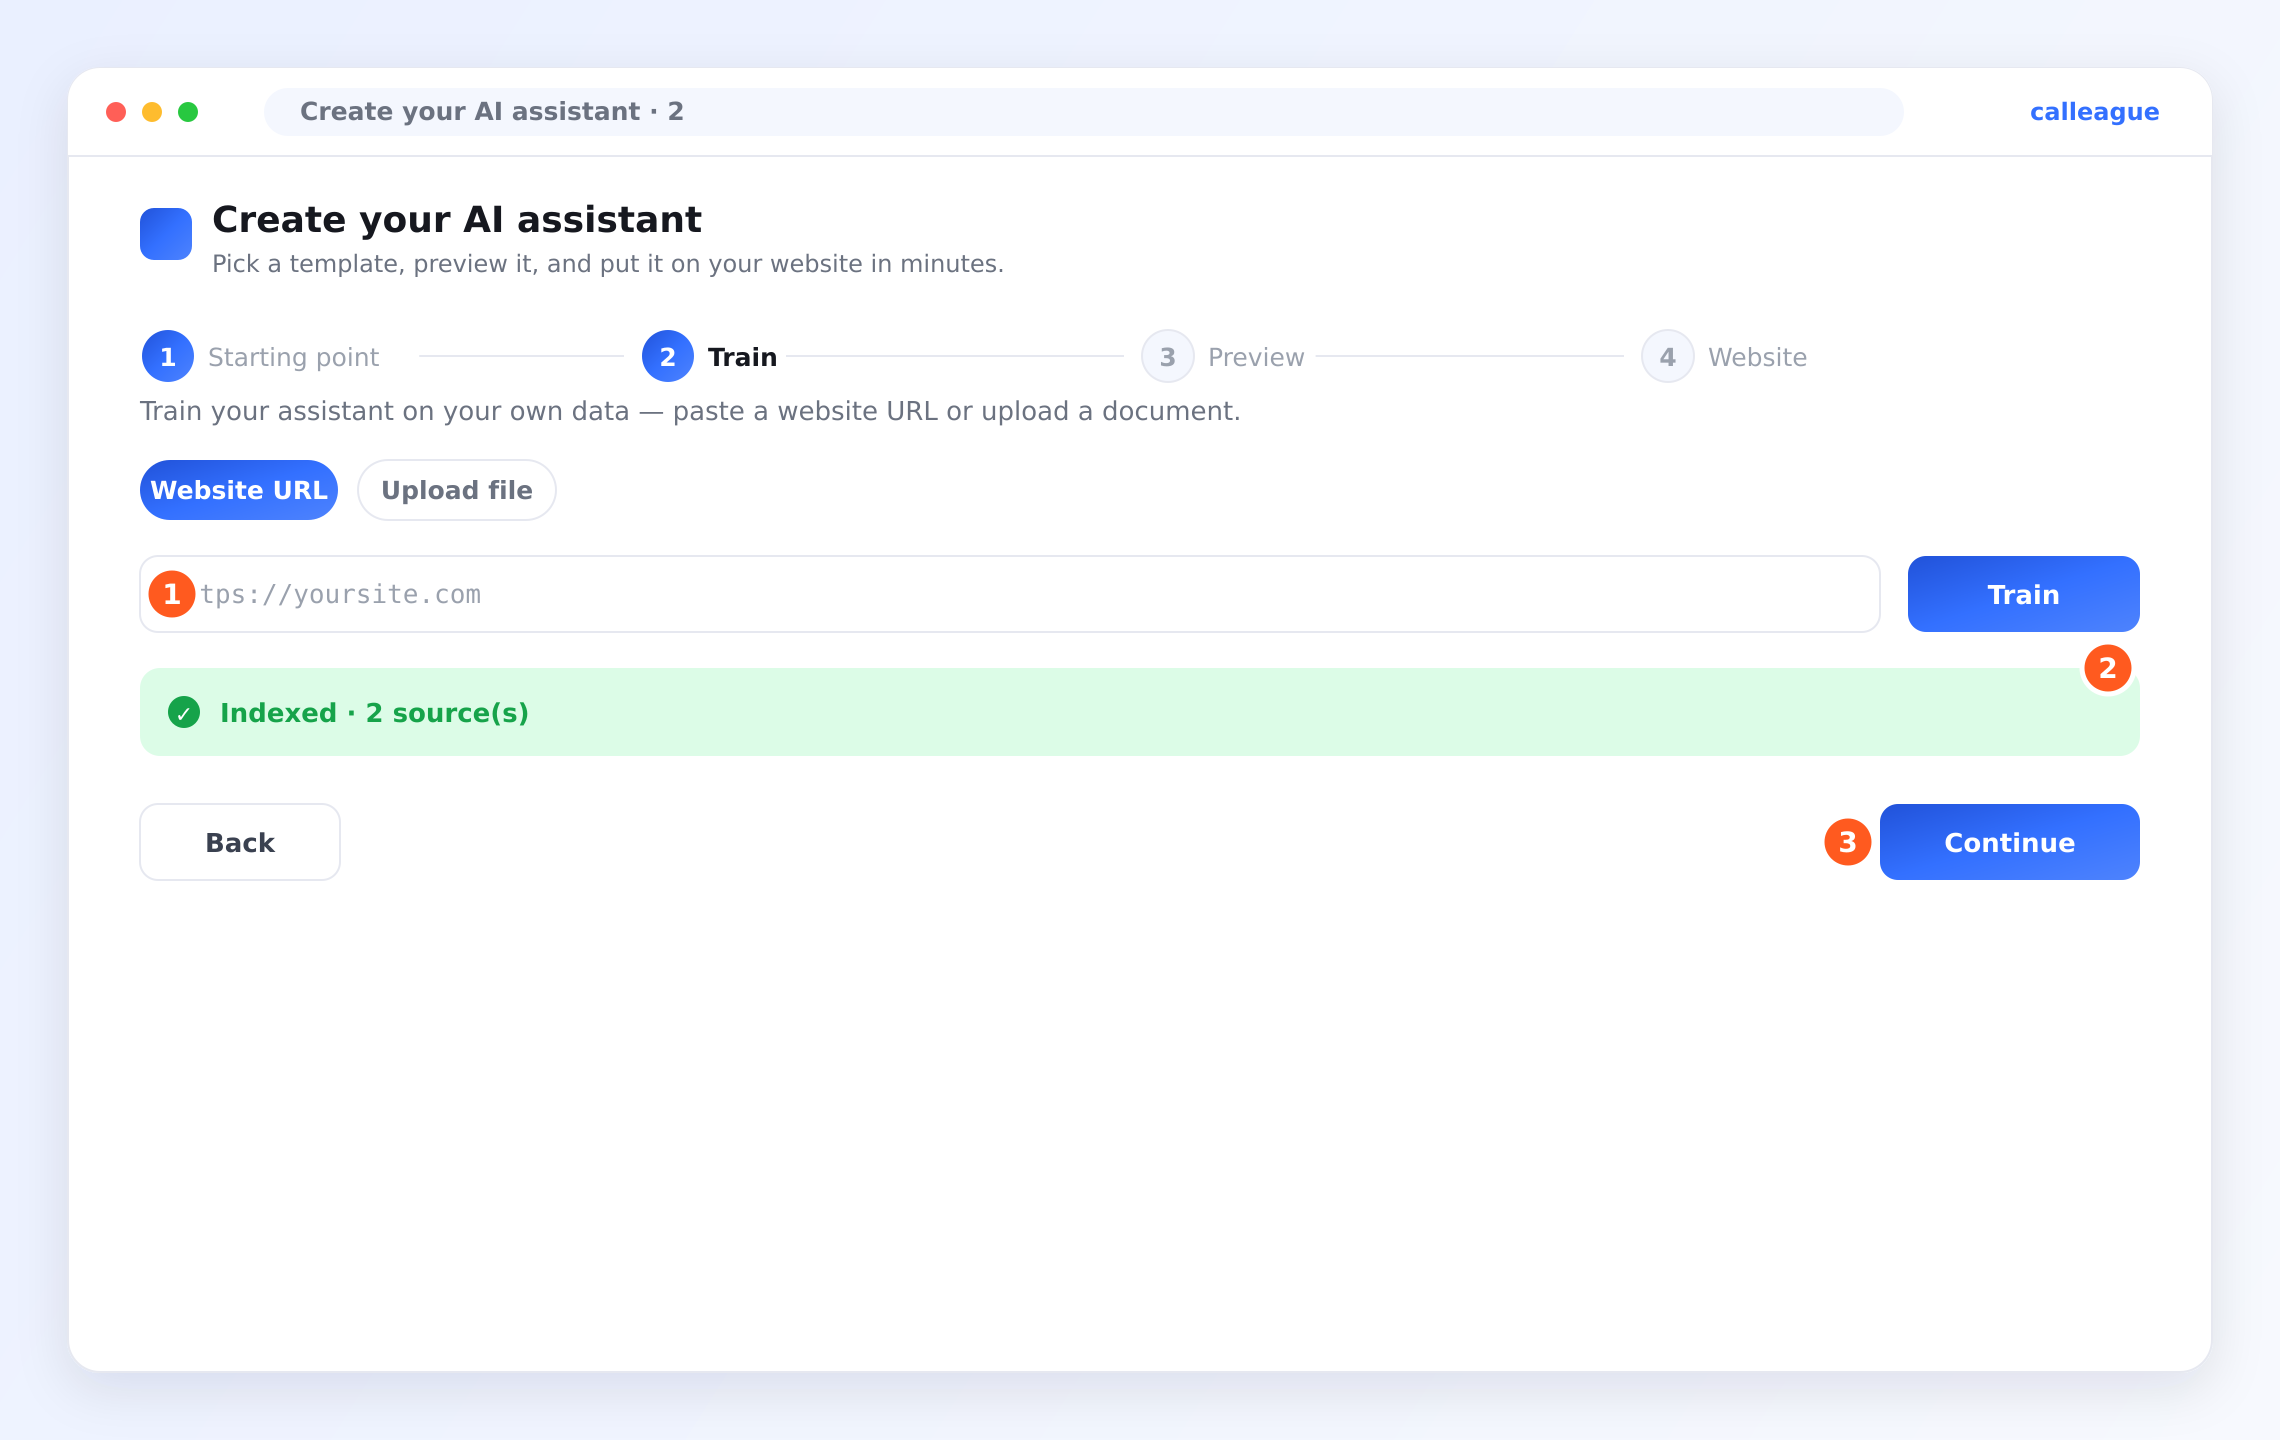
- To use your website: keep the Website URL tab selected, paste your link into the ① address field (where it shows
https://yoursite.com), then click the Train button next to it. - To use a document instead: click the Upload file tab and choose a PDF, DOCX, TXT, or MD file.
You'll see a green ② "Indexed · N source(s)" message once it has finished reading your information. Then click the ③ "Continue" button.
In a hurry? You can click Skip for now and add your information later from the Knowledge base. But even one website or document makes the assistant noticeably smarter.
Preview and test it
The wizard now shows a live chat so you can try your assistant before anyone else does.

In the ① chat preview box, type a real question a customer might ask — for example "What are your opening hours?" or "I would like to book an appointment." — and read its reply.
When you're satisfied, click the ② "Continue to website" button.
You'll see a green "Your assistant is ready!" note above the chat, confirming it's working.
Try a couple of questions a real customer would ask. If an answer isn't quite right, that usually means you need to add a bit more information — see Teach it about your business.
Get the code for your website
The last step, Website, gives you everything to put the assistant on your site.
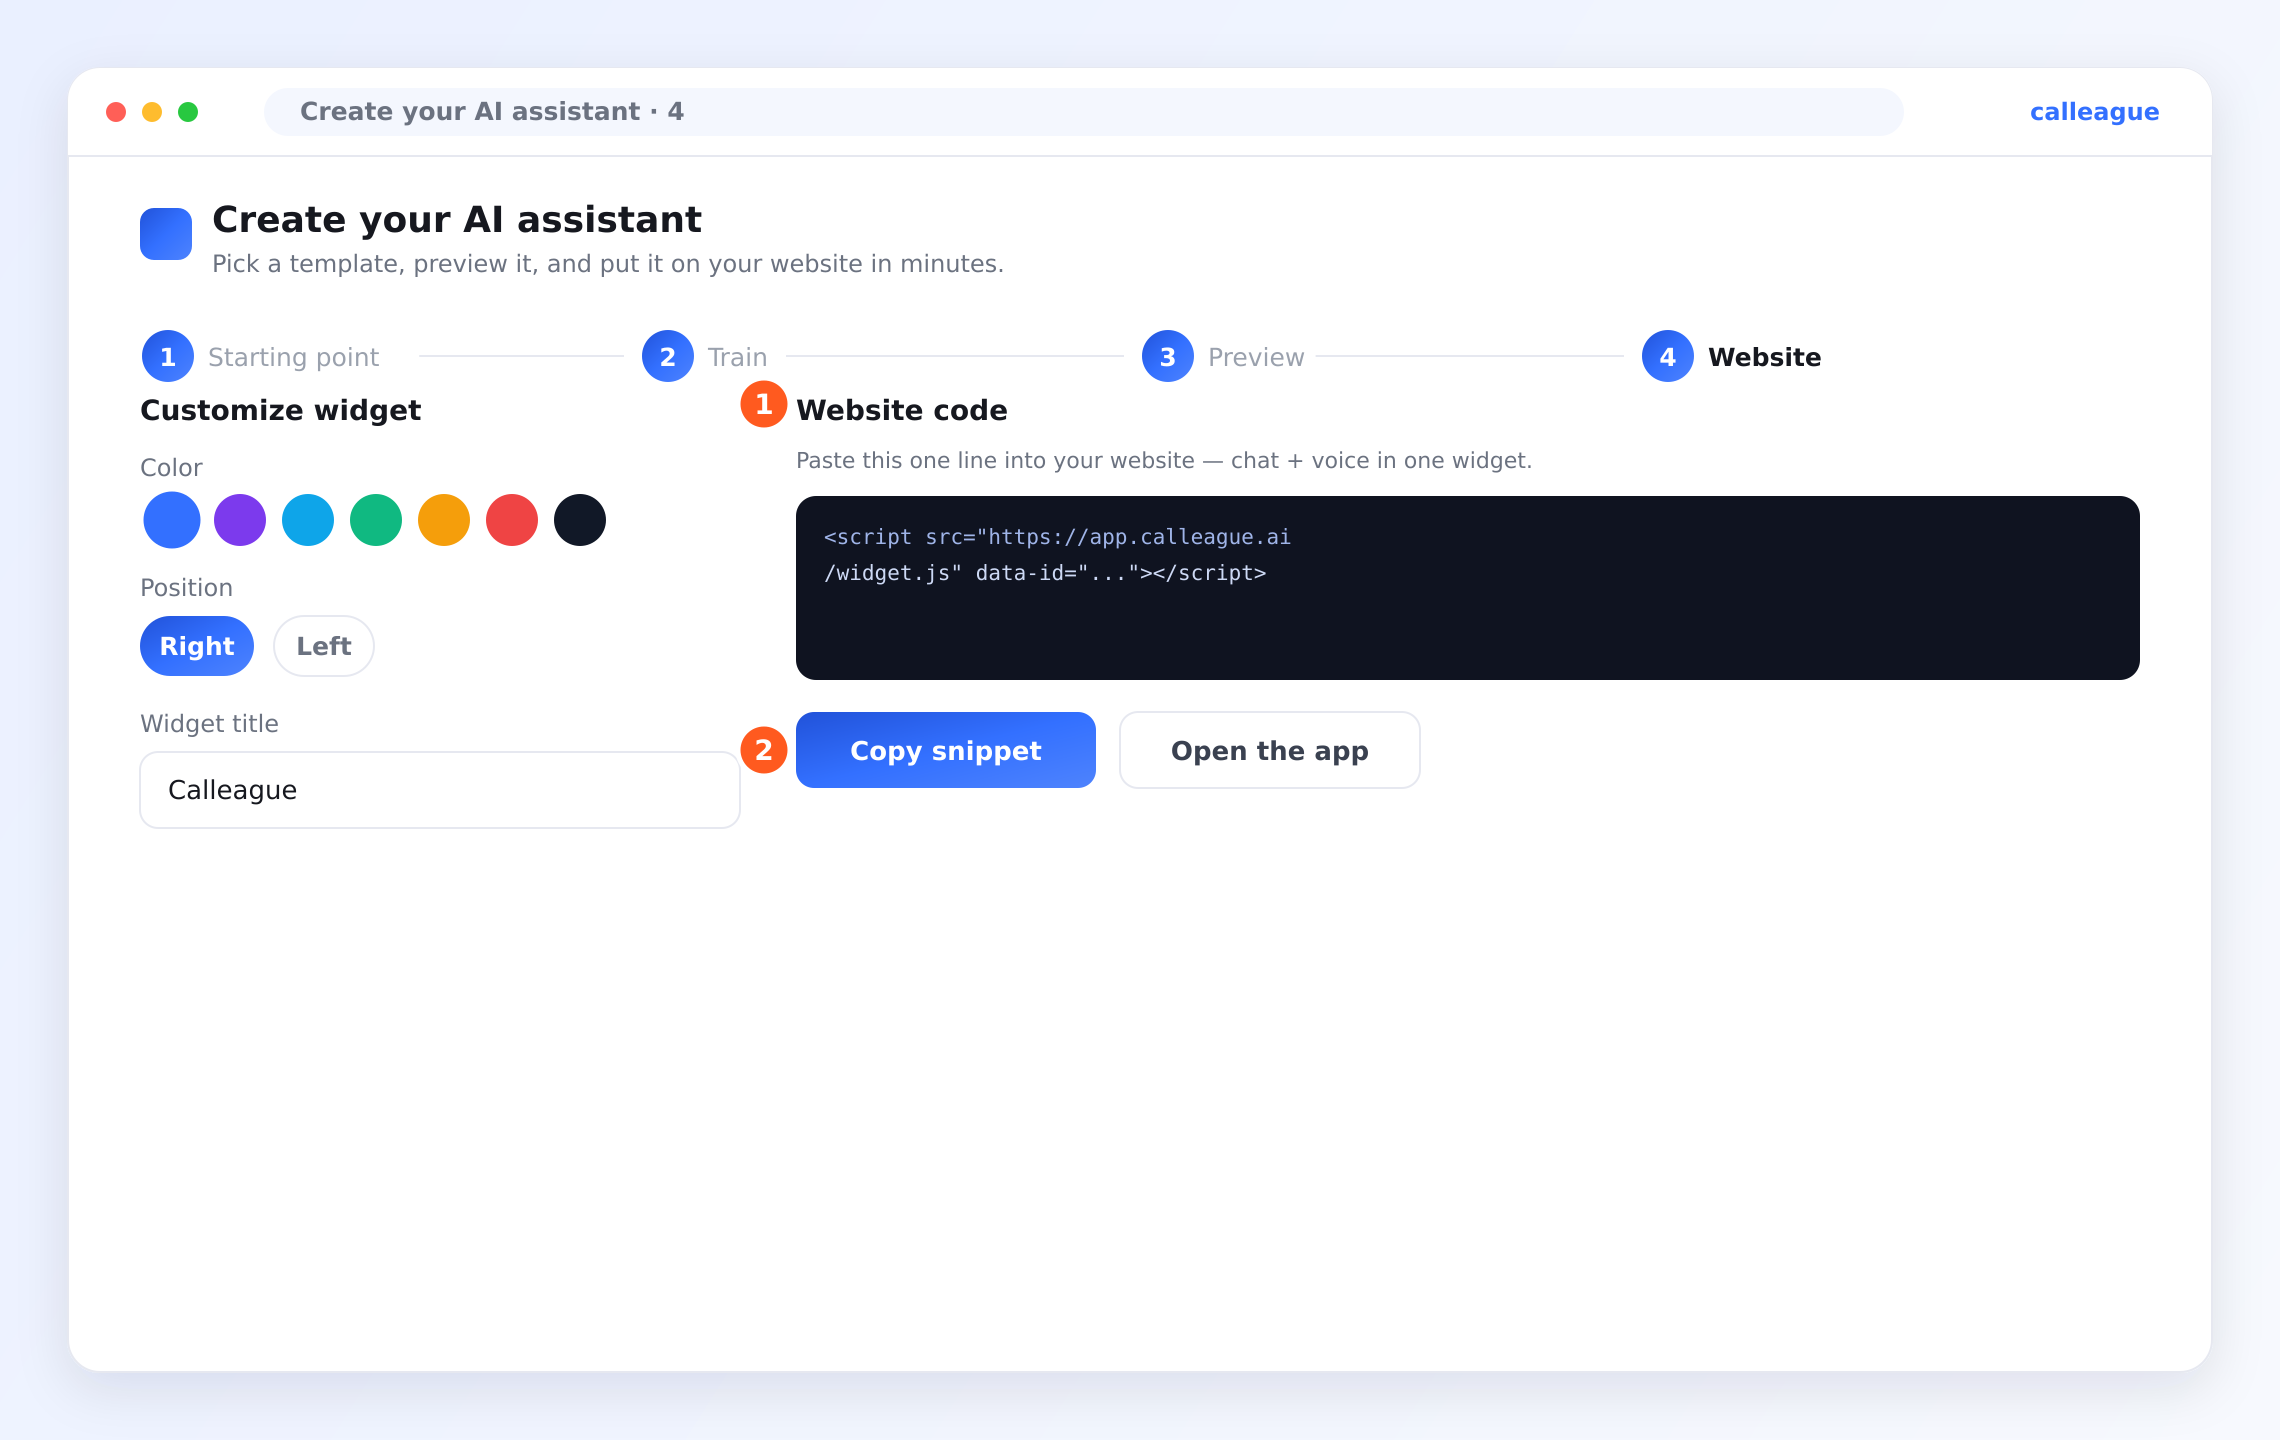
First, under Customize widget, set the Color, the Position (Right or Left), and the Widget title that visitors see.
Then look at ① "Website code" — that's the one-line snippet. Click the ② "Copy snippet" button to copy it, or click Open the app to start using your assistant inside Calleague right away.
You'll see the snippet highlighted, ready to paste into your website. Full instructions are on the next page.
That's it — your assistant exists and works! Everything you chose here can be edited again whenever you like.
Tips for a great start
- Pick the closest template. It saves you time and sets a sensible tone. Appointment booking for clinics and salons, Support assistant for help lines, Sales / leads for enquiries.
- Name it for its job. "Support Assistant" or "Reception" helps you tell assistants apart later. Customers don't see this name.
- Train it with your best page. Your FAQ, pricing, or "About" page is perfect — it answers the questions people actually ask.
- Test like a customer. In the Preview step, ask the things your callers really ask.
If something looks different
| What you see | Why it happens | What to do |
|---|---|---|
| Create & preview seems to do nothing | The Assistant name is empty | Type a name in the ① field, then click again |
| No green Indexed message appears | The link is mistyped, or the page is private | Check the address starts with https://, or upload a document instead |
| You don't want to train it yet | You'd rather add information later | Click Skip for now and continue |
| The preview reply seems off | The assistant doesn't have that fact yet | Add the missing info — see Teach it about your business |
| You closed the wizard early | It happens | Click New assistant on Home to start again, or reopen your assistant later |
Frequently asked questions
Next steps
Your assistant is built. Now let's make it really yours by teaching it about your business, then put it where your customers are.
Teach it about your business
Add websites and documents so it answers from your info.
Put it on your website
Copy the snippet and add the chat widget to your site.
Connect a phone number
Let your assistant answer real phone calls.
Try your first conversation
Chat with it, call it, then read the transcript.
Want a hand wording your assistant? Write to us at info@arpanet.com.tr — we're glad to help.
Getting started
Sign in to Calleague, take a guided tour of your Home dashboard, and get ready to build your first AI assistant — with real screenshots at every step.
Teach it about your business
Make your assistant answer from YOUR information — add your website or documents during the wizard, and add more any time from the Knowledge base.